
Is the window open?
Contents
I’m sure we’ve all been there - coat on, shoes on, just about to lock the door and - “did i leave the back window open?”
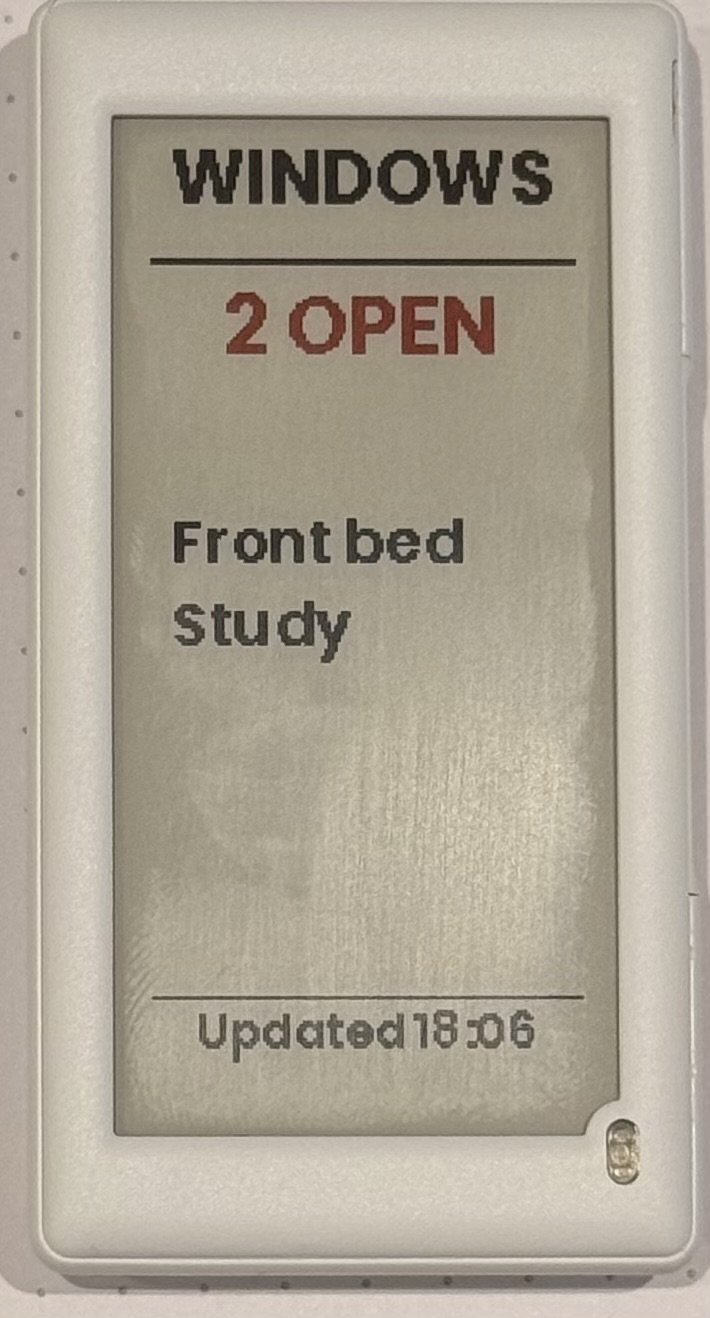
I wanted something which shows me, at a glance, which windows are open, or confirms they’re all closed.
goals
- low maintenance - dont need to charge it every week
- automatically updates in a few seconds
- our windows can be “closed” or “latched closed” (with a ventilation space around), so support both
- easy to glance at - no complex dashboards
- small and unobtrusive.
What i used
- Home Assistant Yellow
- SNZB-04P/PR1 sensors
- 2.6" Hanshow Polaris Pro 280 Electronic Shelf Label
- LilyGo T-Panel S3
- OpenEPaperLink HA integration
Window sensors
I wanted sensors with long battery life. I have a Home Assistant Yellow at home, which has Zigbee support. I already have several Zigbee plugs around the house. Most permanently powered Zigbee devices act as “routers” so there’s a strong network around the house. I decided to buy Sonoff SNZB-04P:
- CR2477 batteries
- 5+ years (claimed) battery life - although this is in a lab. but even half of this is fine for me.
- small
- cheap
I ordered a bunch from aliexpress. I have a mix of SNZB-04P and SNZB-04PR1. The PR1 unit has a slightly slimmer body and a screw fix, vs a clip on the original. The magnet appears identical, and both look identical to Zigbee with the same firmware, model name and “ZHA quirk” (
zhaquirks.sonoff.snzb04p:(eWeLink / SNZB-04P)).
there’s also a SNZB-04PR2 version, but this isnt as good:
- 2xAAA batteries
- 3 year claimed battery life
- there were reports of it occasionally missing the first state change after a long idle period which is not ideal
Mounting the magnets
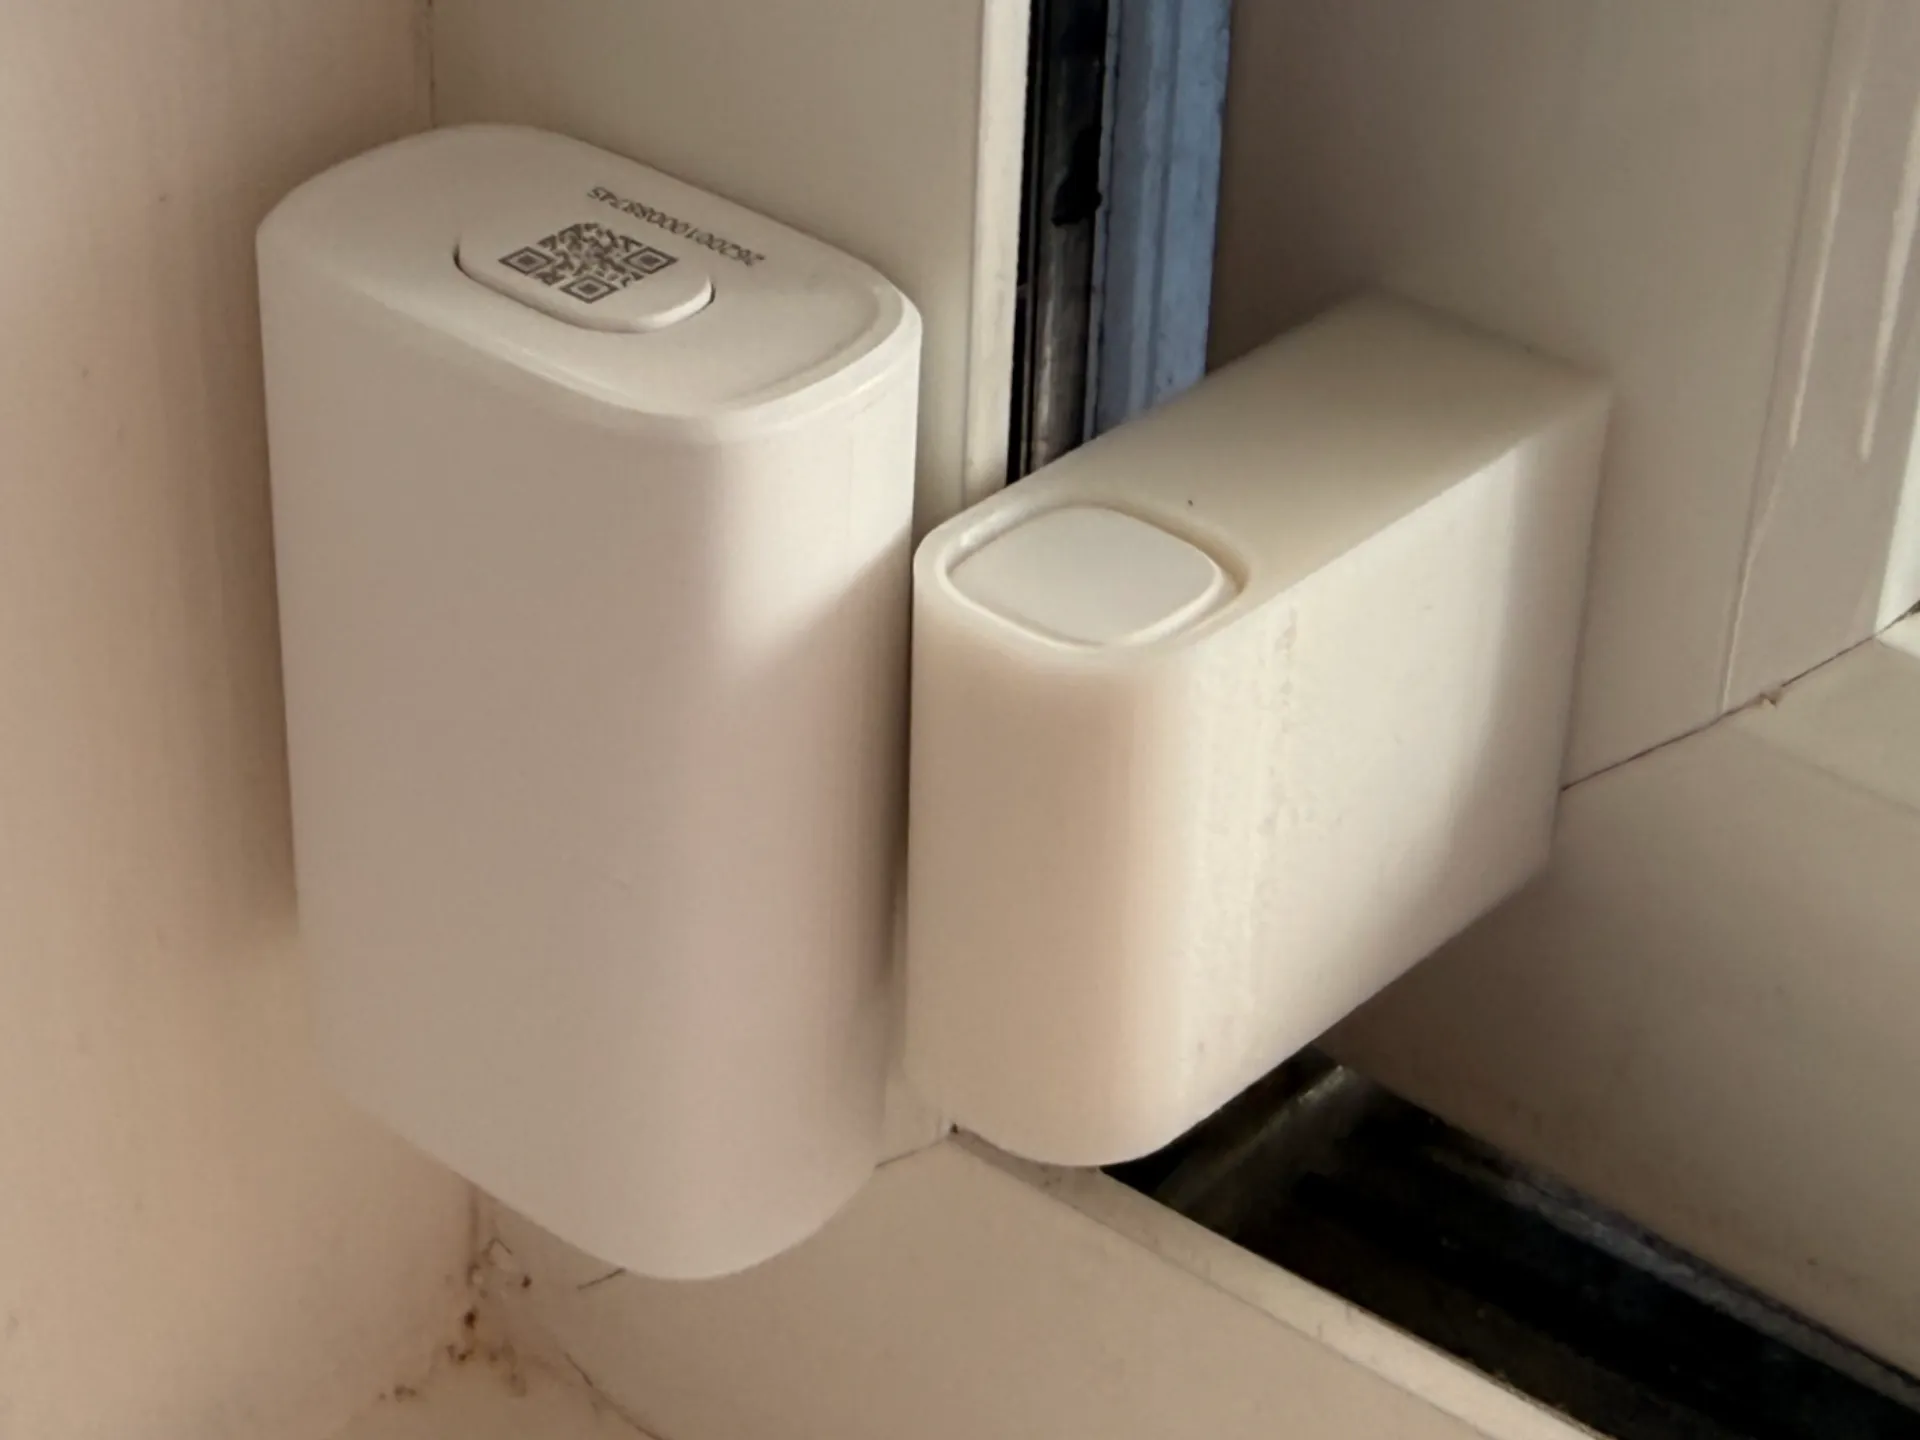
Fitting the sensors to the window is easy - just stick it on - but the magnet must be within 20mm of the sensor to trigger, so when the window is “latched” open it’s just out of reach. I designed a little 3d-printed mount to let me adjust the distance so that the magnet still sits in the sweet spot of the sensor even when the window is in the latched locked position. You can download it from Makerworld - it’s parametric so it can be adjusted for whatever length you need. The magnet neatly clips in the top and it accepts 3M VHB tape in a little recess in the bottom.
Electronic Shelf Labels?
I was wandering around the supermarket and noticed that they had these little e-paper labels. These things are amazing - they’re cheap, hackable, and because e-paper consumes no battery between refreshes and the radios are asleep most of the time, they have really good battery life - with 2 updates per day, some are rated for up to 15 years! so even with a few updates a day, battery life should still be pretty good.
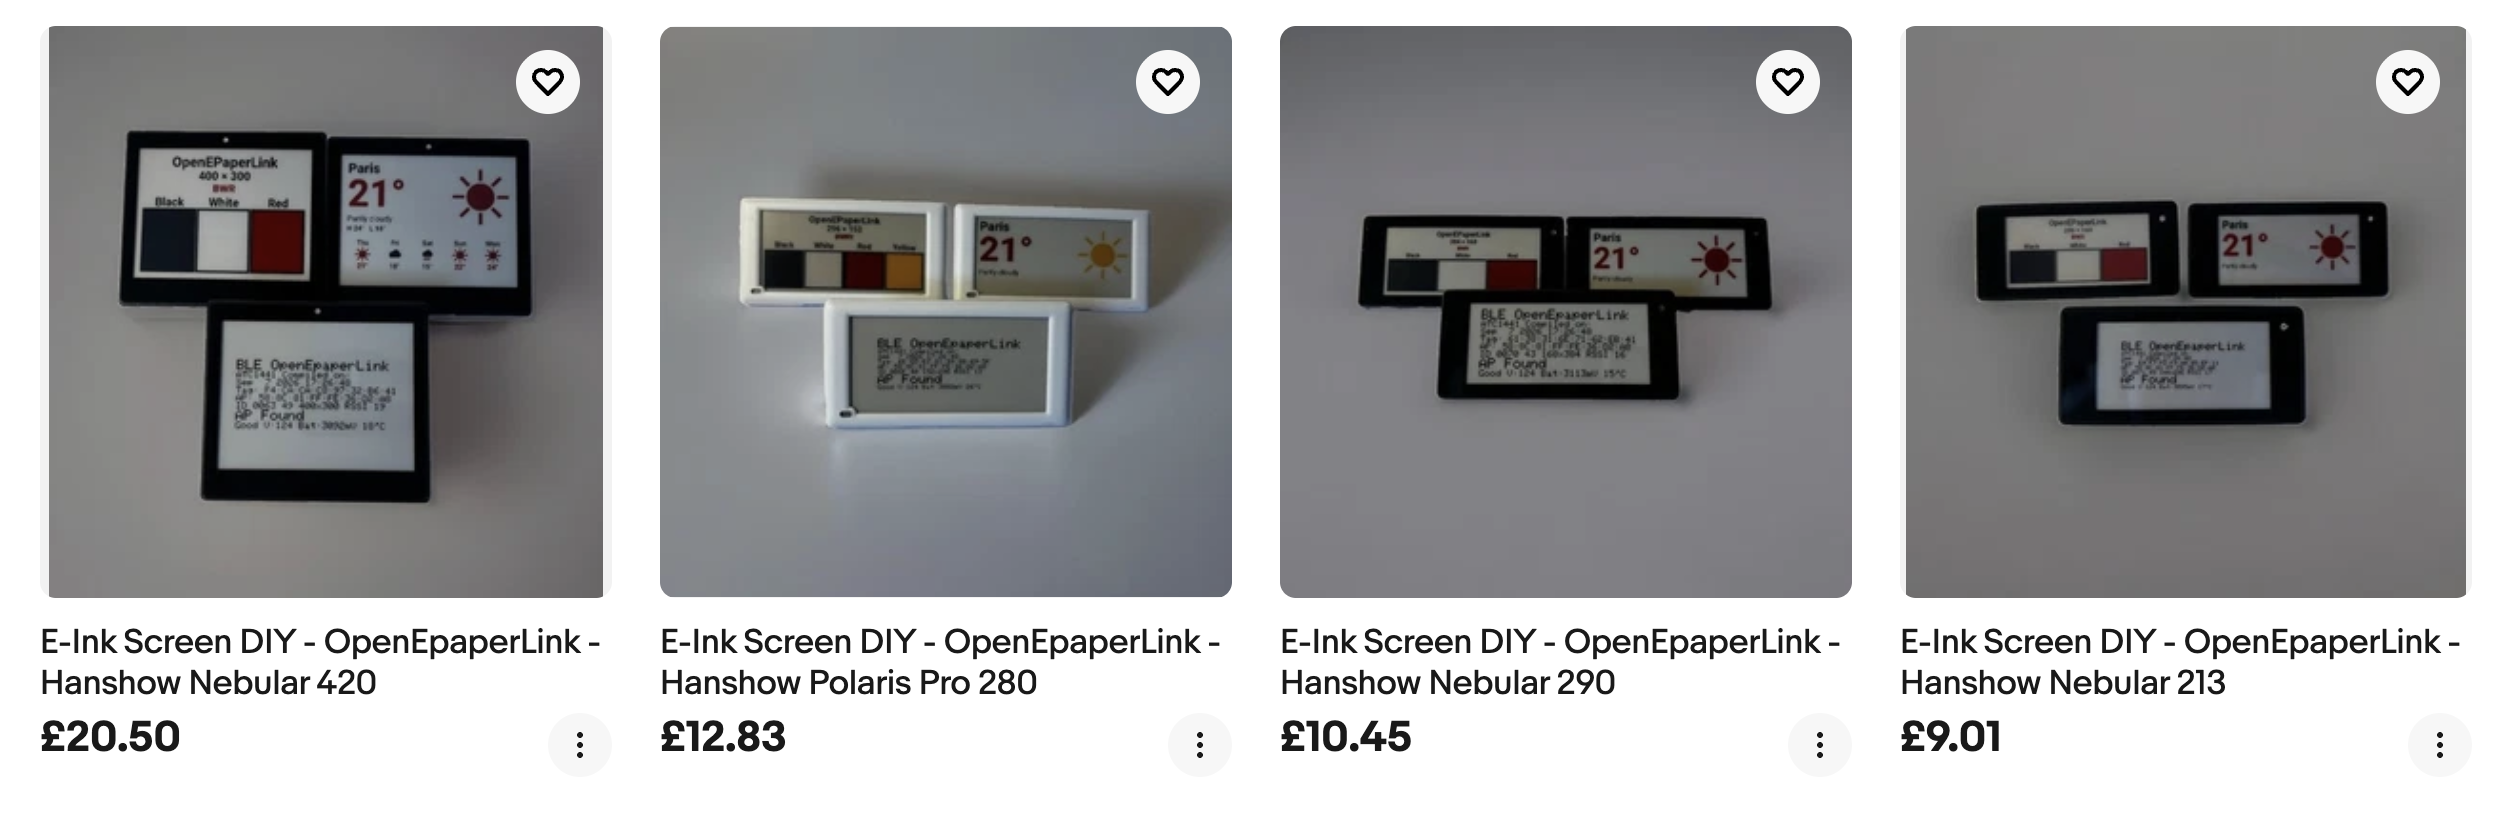
The most common open source protocol and firmware for them is OpenEPaperLink. Flashing the devices can be a bit fiddly - for some you need to cut a hole in the casing in exactly the right location - and getting the correct hardware revision can also be hit and miss, so rather than faf around, I bought some preflashed screens from J on eBay. They were UPSd to me in London in a couple of days.
OpenEPaperLink Access Point
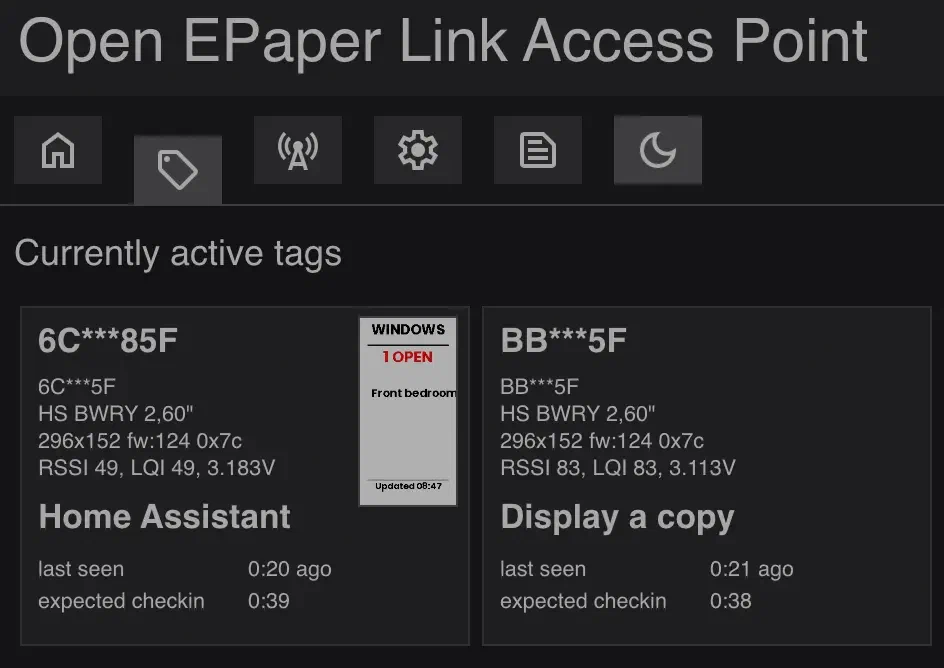
The next component you need is an Access Point. The labels scan for a compatible OpenEPaperLink Access Point (AP) then associate with the first one they find. The OpenEPAperLink site has a bunch of recommendations, and you can hack one together with an ESP32-S3 and an ESP32-H2 and some spaghetti wiring, but i wanted something a bit more robust and ready to go, so i bought a Lilygo T-Panel S3 (make sure you dont get the “lite” version, this isnt compatible). This has both the ESP32s preconnected in a case with a screen and is fully supported by the OpenEPaperLink team. Once it arrived, i flashed it using the installer - pay attention to the rotation of the RESET and BOOT buttons.
Firmware update bug
After installing, i wanted to update the firmware to the latest version using the built in firmware updater, but hit a defect in the firmware update process - it looks for an ESP32-C6, not H2. I logged the issue with the maintainers - workaround:
- Download the contents of the H2 binaries folder from github
- rename
firmware_H2.jsontofirmware_C6_Uart0.json - In OpenEPaperLink go to Settings → Update → ESP32-H2 from file system → file system
- Upload all the files in to the root of the file system
- Return to Settings → Update and click Flash beside ESP32-H2 from file system
Waking and connecting the screens
This part’s pretty easy. The screens are put in to deep sleep for transport. To wake them just bring an NFC reader near. I found that just holding the top of my iphone near them did the trick.
Once connected, they’ll start ‘searching’ for an access point, and eventually they’ll find one and connect.
Generating the screen
I created a small automation which generates the image using the open_epaper_link.drawcustom action. You set the window entity IDs and display names in the windows variable at the bottom and set them as triggers at the top:
alias: E-paper - Window status portrait
triggers:
  - trigger: state
    entity_id:
      - binary_sensor.back_bedroom_windows
      - binary_sensor.front_bedroom_windows
      - binary_sensor.study_windows
      - binary_sensor.kitchen_window
      - binary_sensor.living_room_windows
    from: null
actions:
  - variables:
      open_count: |-
        {% set ns = namespace(n=0) %}
        {% for w in windows %}
          {% if is_state(w.entity_id, 'on') %}
            {% set ns.n = ns.n + 1 %}
          {% endif %}
        {% endfor %}
        {{ ns.n }}
      open_names: |-
        {% set ns = namespace(x=[]) %}
        {% for w in windows %}
          {% if is_state(w.entity_id, 'on') %}
            {% set ns.x = ns.x + [w.name] %}
          {% endif %}
        {% endfor %}
        {{ ns.x | join('\n') }}
  - action: open_epaper_link.drawcustom
    target:
      device_id: 596cd58872a5f26b58ad655d0d043e53
    data:
      rotate: 270
      background: white
      payload:
        - type: text
          value: WINDOWS
          x: 76
          'y': 15
          size: 22
          color: black
          anchor: mt
        - type: line
          x_start: 12
          x_end: 140
          y_start: 42
          y_end: 42
          width: 2
          fill: black
        - type: text
          value: |-
            {% if open_count | int == 0 %}
              ALL CLOSED
            {% else %}
              {{ open_count }} OPEN
            {% endif %}
          x: 76
          'y': 60
          size: 24
          color: '{{ "black" if open_count | int == 0 else "red" }}'
          anchor: mt
        - type: text
          value: '{{ open_names }}'
          x: 18
          'y': 112
          size: 18
          color: black
        - type: line
          x_start: 12
          x_end: 140
          y_start: 256
          y_end: 256
          width: 1
          fill: black
        - type: text
          value: Updated {{ now().strftime('%H:%M') }}
          x: 76
          'y': 274
          size: 14
          color: black
          anchor: mm
variables:
  windows:
    - entity_id: binary_sensor.back_bedroom_windows
      name: Back bed
    - entity_id: binary_sensor.front_bedroom_windows
      name: Front bed
    - entity_id: binary_sensor.study_windows
      name: Study
    - entity_id: binary_sensor.kitchen_window
      name: Kitchen
    - entity_id: binary_sensor.living_room_windows
      name: Living room
mode: restart
The result is exactly what I wanted: a small display by the front door that tells me ALL CLOSED, or lists the rooms with an open window within a minute or so. The screen is simple, with nothing to interact with and, because it’s e-paper and long life sensors, hopefully i’m not going to be walking around changing batteries every week. We’ll see.